Using Art In Your Interiors
Of all the elements that go into a room - furniture, lighting, decor…I would place art right up there in terms of importance. And yet it is often the last thing that people give consideration to. I think because it feels like a trickier element to tackle. Finding a sofa feels familiar - you consider the shape, the size and the comfort. The material and the colour. Decision made. We learn to get comfortable buying furniture as soon as we leave home because it is a necessity, so we’re practiced at it. Buying art is actually no different. The same kind of simple considerations are all that are needed…do you like the subject of the art? Is it in colours that you like and feel drawn to? Is it a good size? By keeping it simple, buying art can become as easy as buying anything else for your home.
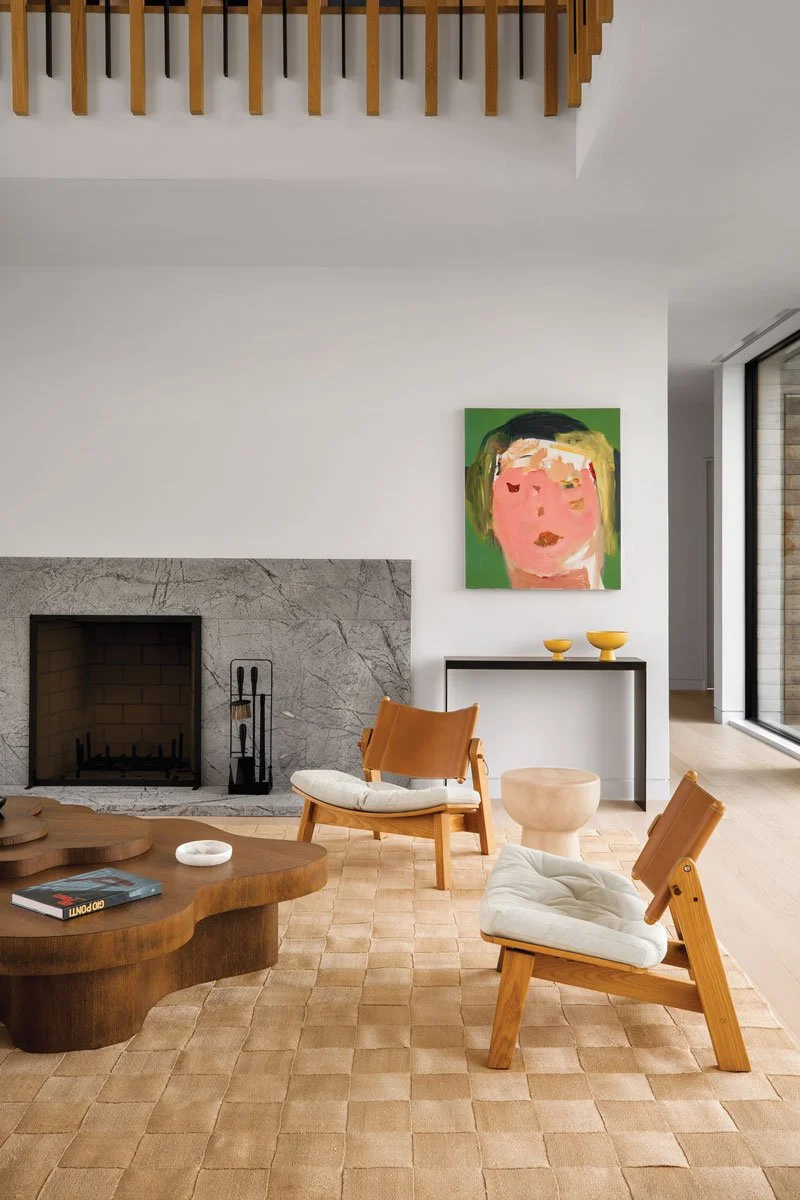
Image credit: Studio McGee
Creating a Collection
The most successful interiors have a balance of elements and art should fit into this criteria as well. When buying art think about what art you already own. If you have a lot of photography, think about creating balance by buying an oil painting on canvas or a paper line drawing. Seek out different styles of art so that your collection feels considered and pulled together in a stylish way, instead of formulaic. In the same way, consider the size of art. Have a balance of large scale pieces that hang alone; pairs, where you hang two pieces together, and finally small pieces that can be hung gallery style or be used to fill in a small wall space.
My Top Tips for a Balanced Art Collection
Look for different mediums of art - oil paintings, drawings, portraiture, landscape, photography, abstract
Use a variety of sizes - bigger is not always better. Go for tiny pieces all the way through to extra large.
Consider art orientation - try and have a mix of square, portrait and landscape orientation
How to Choose Art you Love
Honestly, choose what you love. It really is as simple as that. Typically I don’t like to consider matching art to furnishings so I’m not going to advise that. Buy the art that you really like the look of and then give consideration for where it should hang. If it really clashes or is distracting in a particular room, then hang it somewhere else. It doesn’t need to match anything, but you want it to add to the ambiance of the space, so if it is jarring, place it somewhere else.
Hanging Art
Which leads me into hanging art. First things first - art can hang anywhere so don’t just consider your living spaces. If you buy a lovely piece of art, it is first and foremost for you and the members of your family to enjoy and appreciate, so don’t worry about placing it where it is less seen by guests (this is a really common request I get from clients - that they want their art where other people i.e. guests can see it because it was expensive to buy). This, for me, is never a consideration. Hang art where it looks best. Your most expensive piece might be beside your bed where each night you see it. Style your home for you, not to impress guests.
My Top Tips for Hanging Art
Find an appropriate wall - make sure the art fits the wall. It is crucial that you get the scale of piece right for the size of the wall. A small artwork in a large space will look insignificant and a large piece crammed onto a small wall will look, well…crammed.
Use negative space - think through whether your artwork will look best hung or leaning as part of a styling tableau, or if it should hang on a wall not surrounded by any furniture. Some art demands negative space around it so that it can be properly appreciated. Other pieces benefit from being visually connected to furniture or objects.
General Rule of Thumb - in general, the middle point of your artwork should be about 150cm from the ground (or another way to consider it is that the middle point of your artwork should be at eye height). This is just a general rule so don’t be too rigid with it. Use it as a starting point and then stand back and consider whether the height is right based on the overall height of the ceiling and any furniture or objects that are near by. In my experience, people generally hang art way too high. I almost never see it hung too low. So that’s something to think about.
Hanging Pairs - in general, I like to leave a gap of about 8-10cm between pieces of medium size. This gap should be a little smaller for smaller artwork but in general, this is a good rule of thumb.
Gallery Hang - if you want to create a gallery hang, plan it out first with paper and blue tack the paper to the wall so you can visualise the pattern and if it works. Similarly, place the art on the wall in the pattern you are considering to make sure the pieces work well together.
Image credit: Galerie Magazine / Shade Degges
Framing and Mounting Art
How you choose to frame your art will have an impact on the art itself. For this reason, I don’t recommend using cheap ready made frames. Even if the artwork itself was inexpensive, frame it like it cost a lot. Custom framing isn’t cheap and can sometimes cost more than the art itself, but in my experience, it is always worth it.
Different Framing Styles
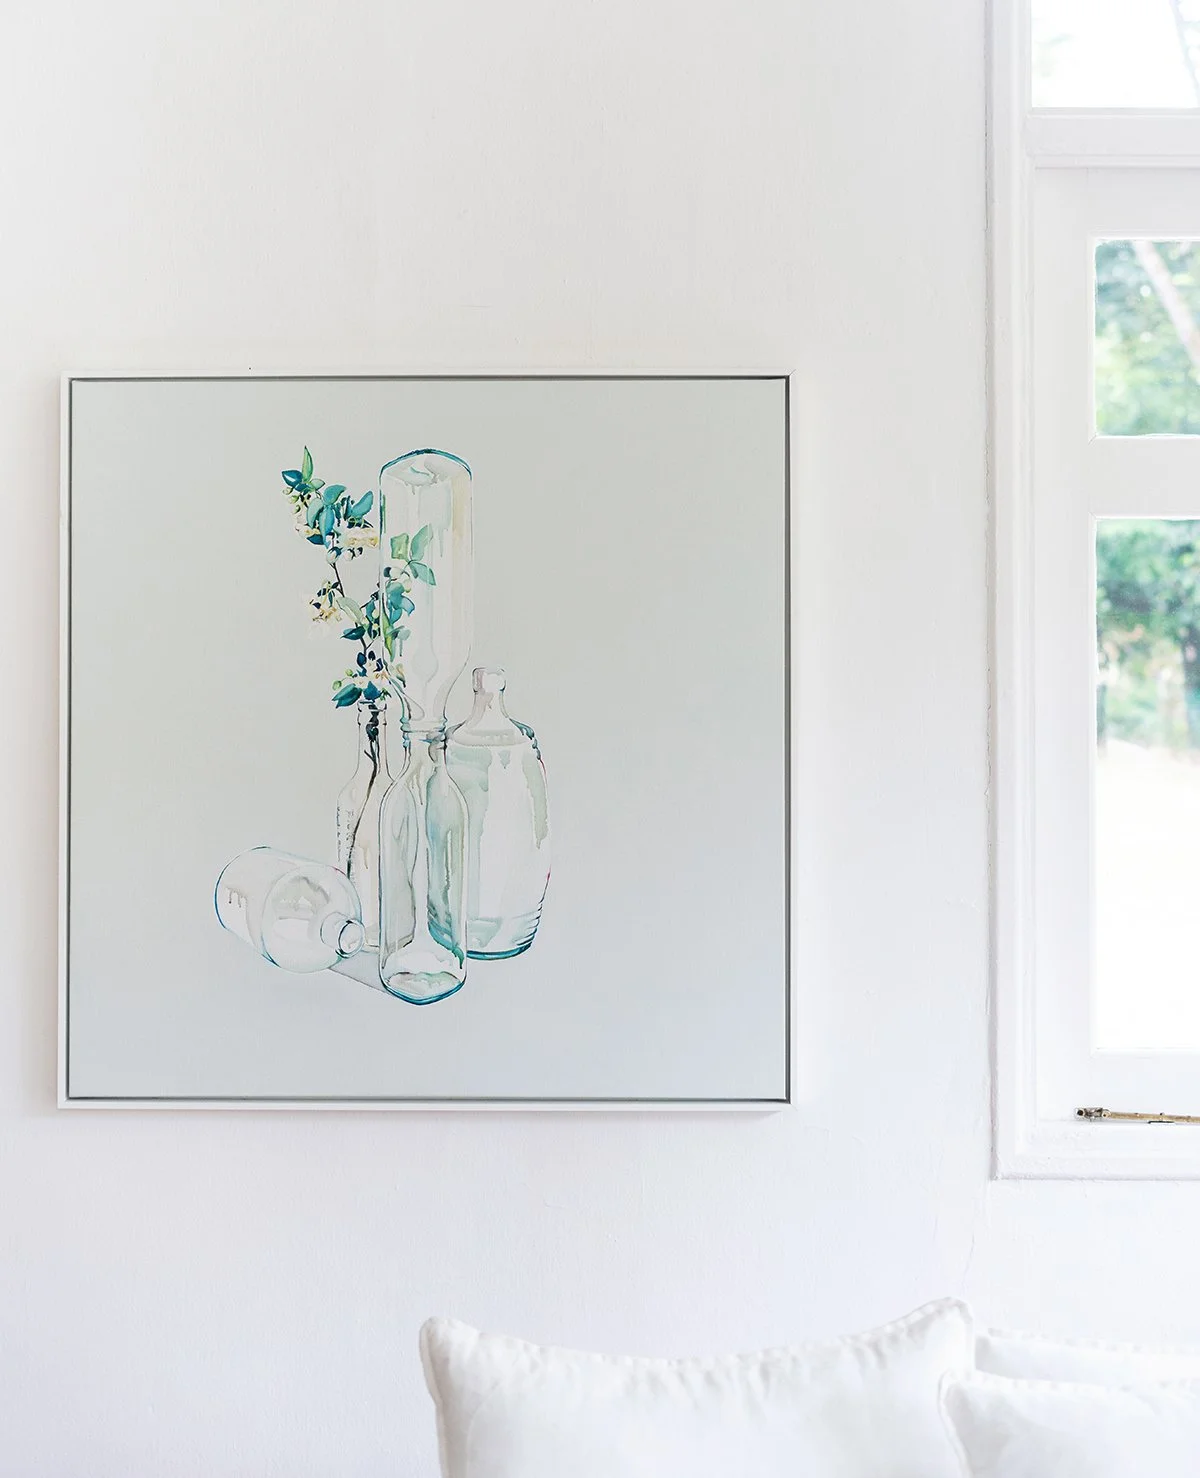
Tray Frame - this is a timber frame that surrounds an artwork on canvas. The edge of the frame should be level with the top surface of the artwork. This framing also creates a shadow line between the frame edge and the artwork edge. You can ask your framer to have this shadow line be as wide or narrow as you wish so play around with what looks best.
Box Frame - a box frame is most commonly used for works on paper. Generally, the frame will be oak, teak, or painted black or white. My favourite way to use a box frame is to mount the artwork at the back of the frame with a fillet between the back of the frame and the glass at the front. That way your artwork is not up against the glass.
Sandwich Frame - this is my least favourite frame. It is a narrow frame with little depth which means the artwork frame and glass are all sandwiched together. It was very common previously but is seen as a little old fashioned these days. That being said, from time to time, a sandwich frame can add a little difference to the look of your art so we shouldn’t discount it entirely.
Frameless Perspex - I am a big fan of perspex frameless framing for the right piece. It works really beautifully for large scale photography but can also be used for canvas pieces. The perspex creates a frameless box around the artwork which means that the entire artwork including the outer edges can be viewed. It is the most expensive type of framing but used sparingly, it has real impact.
Mounting Styles
Window Mat - a thick card that can be smooth of textured and comes in a variety of colours to match your artwork. It sits inside the external frame and has a window cut into it and is used to visually frame artwork within the external frame.
Floating Mount - if you don’t want to use a window mat , you can float mount the artwork on the mat board. To achieve this, the framer will insert small pieces behind the artwork so that it floats off the mat board. When float mounting you can see all edges of the artwork (unlike the window mat which covers the outer edge of the artwork). So float mounting usually works best when seeing the entire artwork to the edges makes sense.
Glazing
Museum Glass - the highest quality of glazing usually reserved for pieces that require preservation. It is low-reflective and has UV protection and also features an anti-reflective coating that eliminates all reflections and glare.
Standard Glass - an affordable and widely used glass for framing that can come with UV protection and anti-glare (check with your framer). It is more affordable than museum glass.
Plexiglass or Acrylic - this would have once been slightly frowned upon but these days is a great alternative to glass. It is lightweight so is particularly good for large scale pieces or when using heavy frames. I have also used it with light weight frames where the weight of standard glass would not be suitable. It comes in non-glare and UV protection so check with your framer.
White box frame with artwork float mounted on mat board with standard glass.
Sandwich frame with window mat and standard glass
Perspex ‘frameless’ framing
Tray frame with narrow shadow line


